Deploying Office 2010 with Windows Intune for Businesses
One of the questions that often comes up from our customers when they switch to Office 365 is how do get Office 2010 onto a numerous quantity of compu...

One of the questions that often comes up from our customers when they switch to Office 365 is how do get Office 2010 onto a numerous quantity of computers in a short time. Many of the smaller to mid-sized businesses may not have a managed Deployment Server which can be readily used to get these devices out to their employees. Windows Intune is a cost effective solution to tackle this problem. I will show you a way you can add Office 2010 to your computers by using a simple silent install to create a package that will be used to deploy Office 2010 Pro Plus to the computers from your computer regardless if you are at work or home.
What you will need for this is an Intune Account, if you don’t already have Intune please click here for a free trial version of Windows Intune. You will then need to deploy Windows Intune to install the agent onto the PC’s that you will be loading Office 2010 on. The Windows Intune Agent software is available for the windows Intune Admin Console and consists of two files that must be saved on the computer in the same folder. Once your Windows Intune environment has been set up you can go ahead and load the software. If you are an Office 365 user with an E3 or E-4 Account you can obtain the software by downloading it directly from your admin portal.
How to Prepare the Office 2010 Installation package for upload into Windows Intune:
Click on Install (=save the installation file). You will get a file called MicrosoftOffice.exe. We need to extract this file. DO NOT USE WINZIP. Open a command prompt go the download directory and use the follow command:
MicrosoftOffice.exe /extract:<targetdirectory>We want a silent install, this means that we need to add a Config.xml in the root directory with the following content:
<Configuration Product="ProPlusSub">
<Display Level="none" CompletionNotice="no" SuppressModal="yes" AcceptEula="yes" />
</Configuration>
The next set of steps will demonstrate how to load this software for this purpose we are going to use the 32bit version of Office Pro Plus that was downloaded from the Admin Portal in Office365.
Step 1:
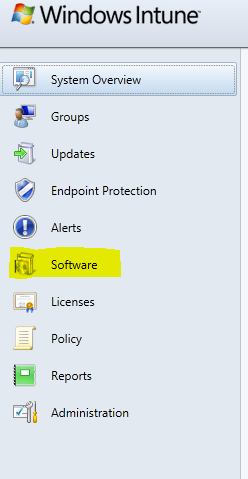
In the Windows Admin Console (https://manage.microsoft.com) locate from the list of options the software tab and click on it.
Step 2:
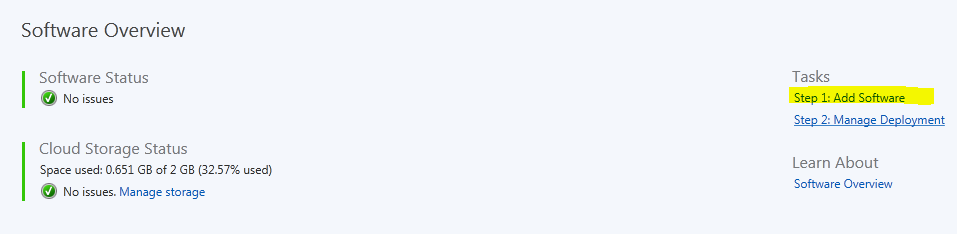
On the Left hand side of the screen under the word tasks, click on “Add Software”.
Step 3:
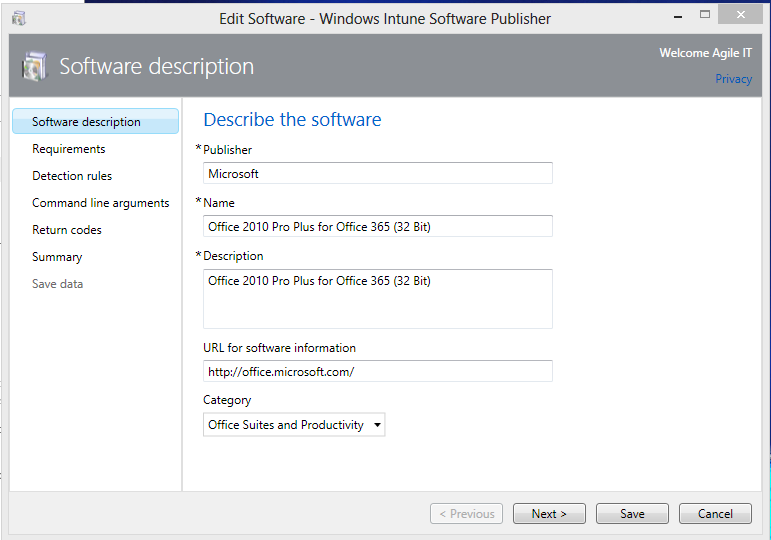
Enter the software description, be sure to name it something that you or someone else who may be deploying the software in your organization can easily identify.
Step 4:
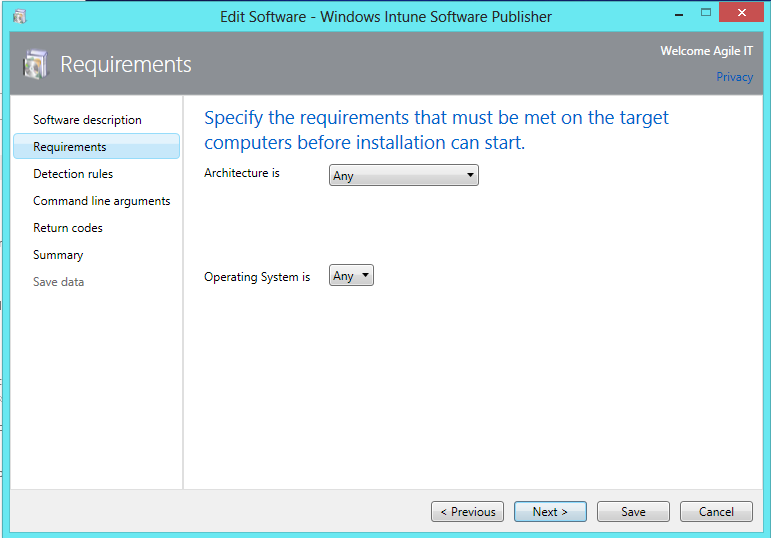
Enter the software requirements, make your decision based on the software platform you are deploying. In this example the 32 bit office can be used on either the 32 or 64 bit platform so “Any “was chosen here. For the operating system any was chosen , however you can determine which setting best represent which versions of OS you are utilizing in your company.
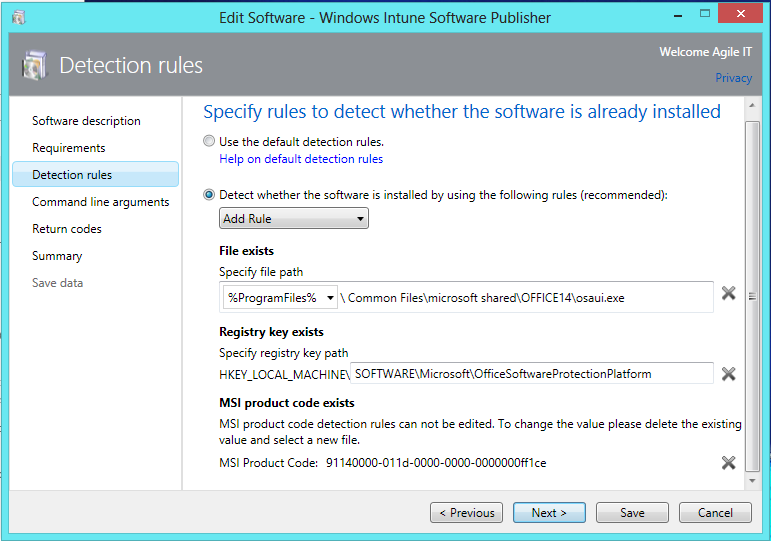
Step 5:
Here you will need to specify detection rules to determine if software components have already been installed.
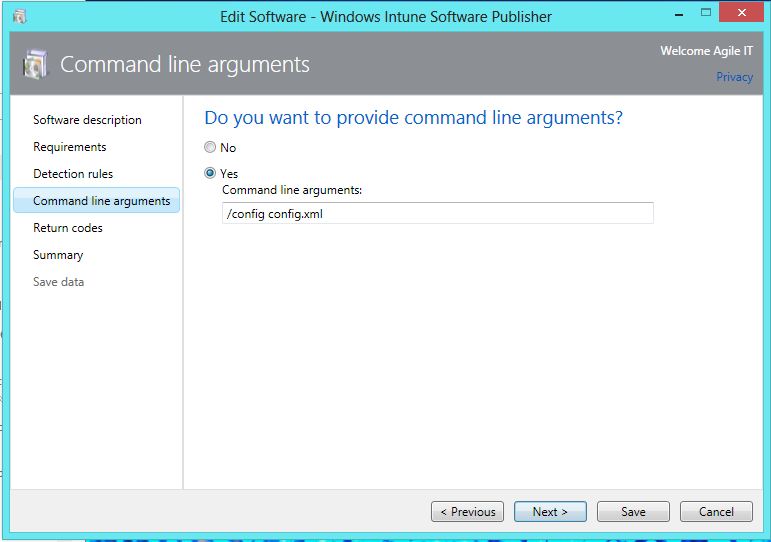
Step 6: Insert the following arguments into the command line as shown:
Step 7: This field is optional, you can specify what return codes you would like or just enter no and use the default. This feature is used to track what error has occurred during this process. 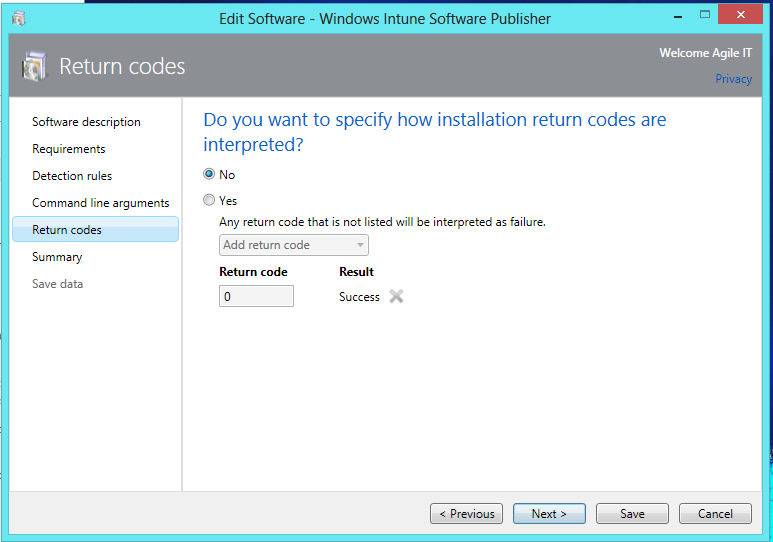
Step 8:
The final step will be to review the status of the upload and click save. 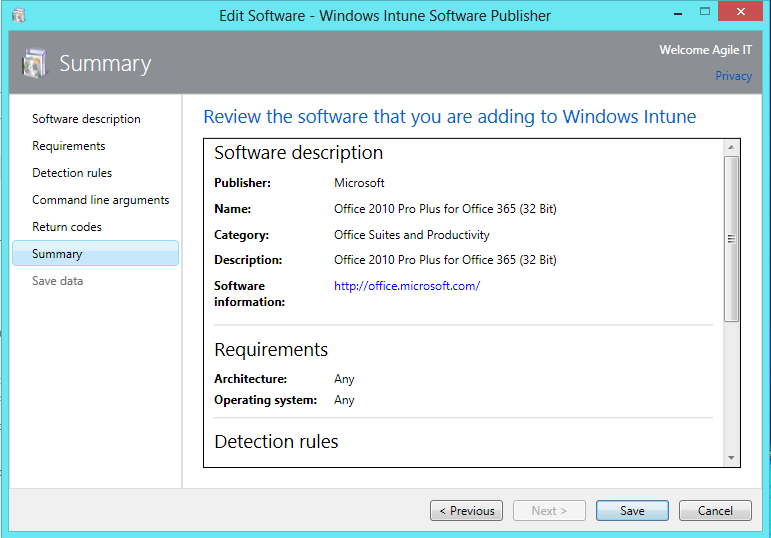
Your software package will go through an upload process which can take up to 2 hours depending on the speed of your internet. Once it is done you will have an Office 2010 package that can be deployed to any user who has a valid Office 365 E-3 License and the Windows Intune Agent Installed.